|
|
Post by jb on Apr 19, 2009 10:53:42 GMT 1
Okay so fairly big update today. We went n did some work on the mini yesterday, full list includes : Cut arches to fit the wheels Painted where we cut Fit wheels Scrape down surface rust on drivers front seam Paint drivers front seam Refit drivers front seam Remove protective plastic from mirrors Dad also touched up a few areas of the car where there is a bit of surface rust and he found a hole too, which we need to have done... yet more rust  I'm sure we did more than that... felt like we did. We've been thinking about how we're gonna find the time to get her ready for the summer, so we think that Dad will be fitting the stage 1 kit/exhaust n giving her a bit of a service himself. Then when I finish exams we'll do the arches together and put back on bits of trim. Piccys  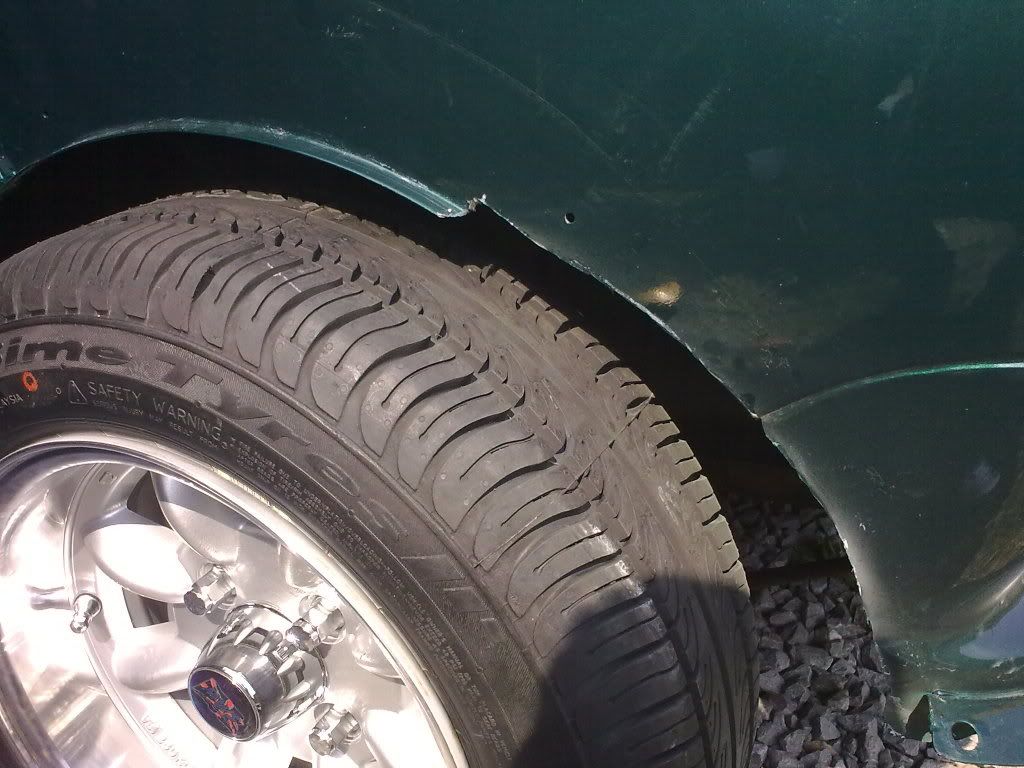 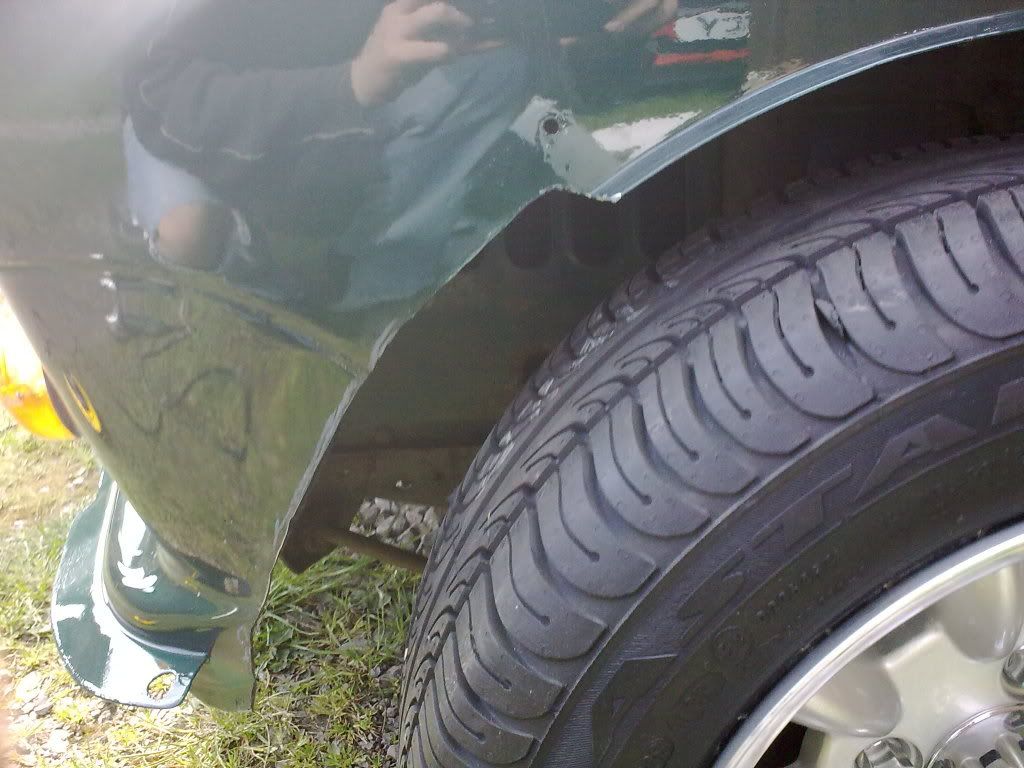   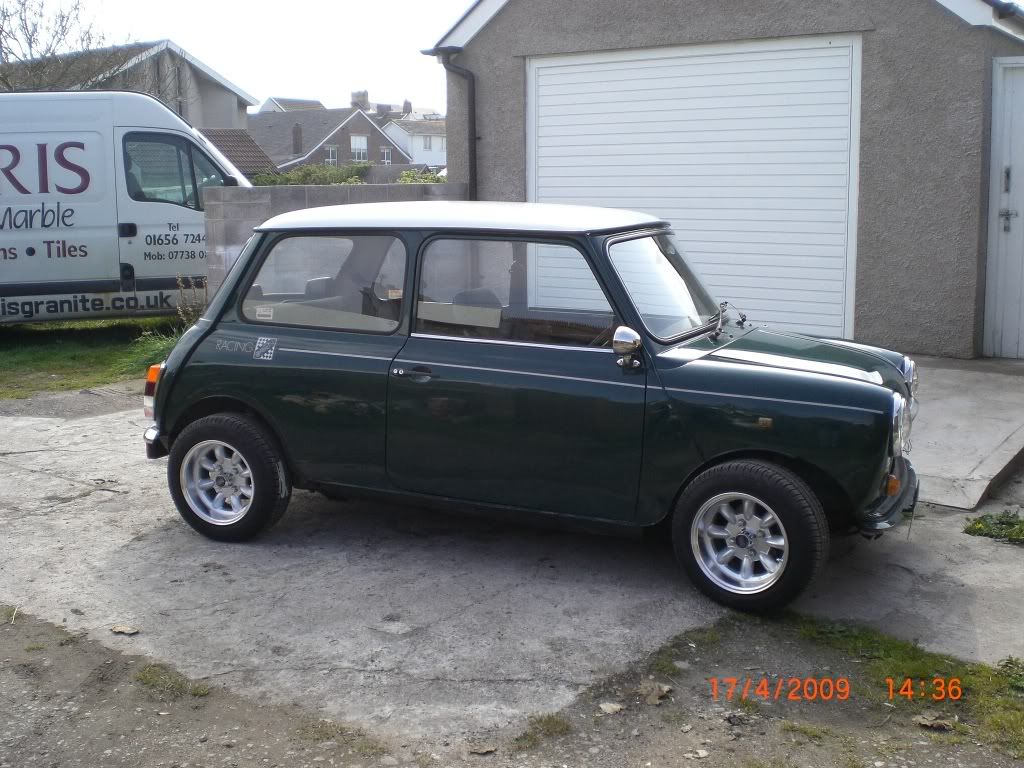 |
|
|
|
Post by jjitaljob on Apr 19, 2009 12:33:57 GMT 1
looking good mate. still needs more cutting off front arches by looks of it. will look nice with your arches  |
|
|
|
Post by jb on Apr 19, 2009 14:41:03 GMT 1
It gets full lock both ways with atleast 1/4" clearance from the arch, so it's pretty good. Dad maneuvored it around over some rough ground too with full lock and didn't rub, so seems good. If we have a problem we'll take some more off  You're right, I think it is gonna look good with the arches  |
|
|
|
Post by jjitaljob on Apr 19, 2009 16:00:52 GMT 1
o.. just i had to take laods more off than that.. suppose 3/4 inch spacers dont help haha...  |
|
|
|
Post by jb on Apr 19, 2009 17:26:53 GMT 1
Ha yeah mate, and you're wheels are 13x7's as well aren't they? We've got 12x6, so need to take off even less metal then  |
|
|
|
Post by jjitaljob on Apr 19, 2009 19:41:59 GMT 1
im gettin rid of the spacers on the front though and puting half inch spacers on as they stick out more than the backs as minis are skinnier on the back so if i put smaller spacers on the front the wheels will then be inline and handle alot better.
|
|
|
|
Post by jb on Apr 20, 2009 13:18:58 GMT 1
Ahh cool I get it, sounds like a good idea  |
|
ljonez
turbo
   Built not bought
Posts: 3,734
|
Post by ljonez on Apr 20, 2009 14:11:15 GMT 1
might be a bit late now but your supposed to create a new lip to help stop panel flex
|
|
|
|
Post by jb on Apr 20, 2009 14:51:10 GMT 1
Probably not too late as they are still like that, so we could still do that now?
|
|
|
|
Post by jb on Apr 29, 2009 16:15:18 GMT 1
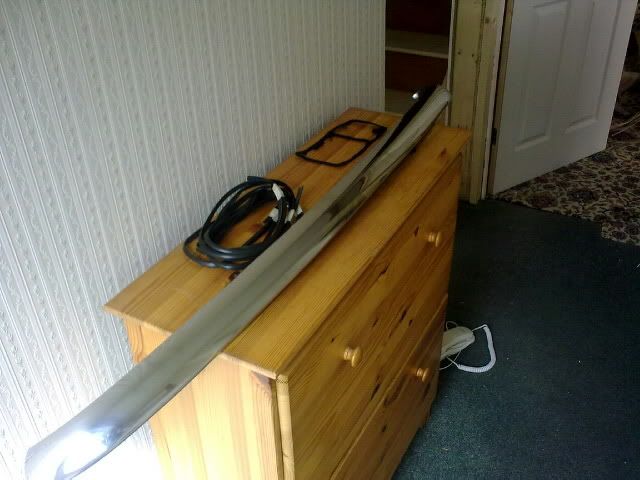 new bumper, rear lamp gasket and rubber strips for the arches. Ready for some work on Sunday  |
|
|
|
Post by jb on May 3, 2009 16:41:01 GMT 1
Managed to get some stuff done this morning. We fitted one whole arch! Haha, mainly because we weren't exactly sure what we were doing with it. Still ended up with a good fit, just needs a little bit of adjusting as you'll see in the photos, but we've got an idea for that  Tomorrow morning we will fit a front arch and work out how that works. If we have time do as much as we can on the other two. After that Dad will have to do it while I've got exams  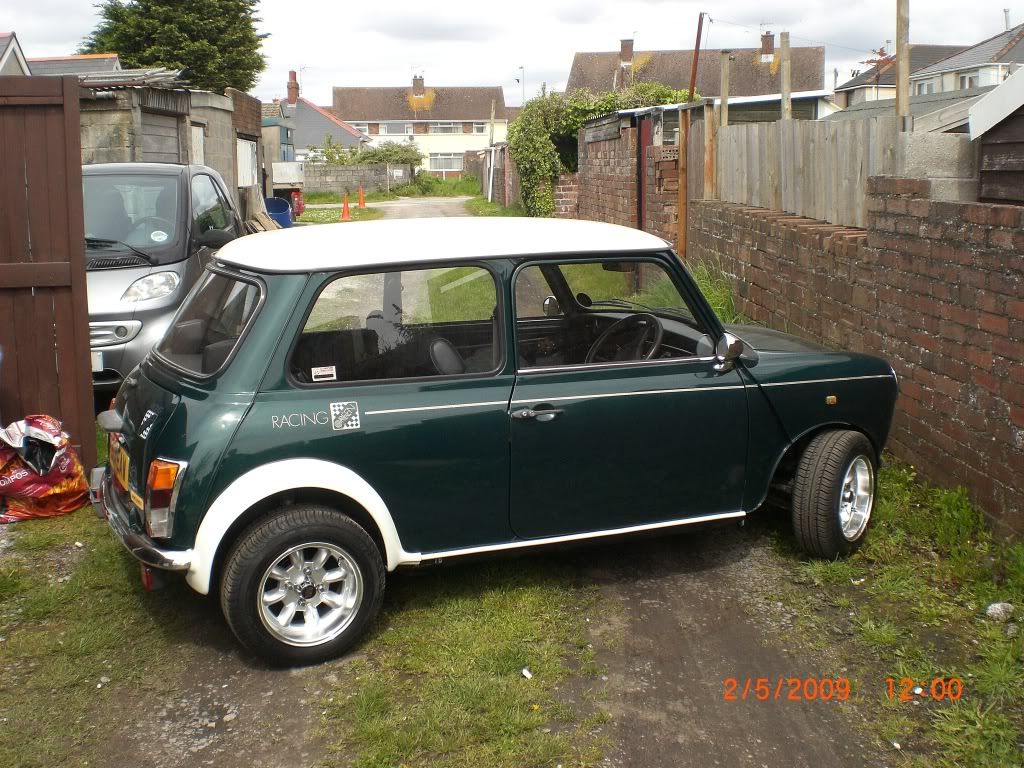 You can see where the bottom of the arch closest to the front isn't fitted as well as we want, so we'll sort that out and it'll sit flusher and further from the wheel too. 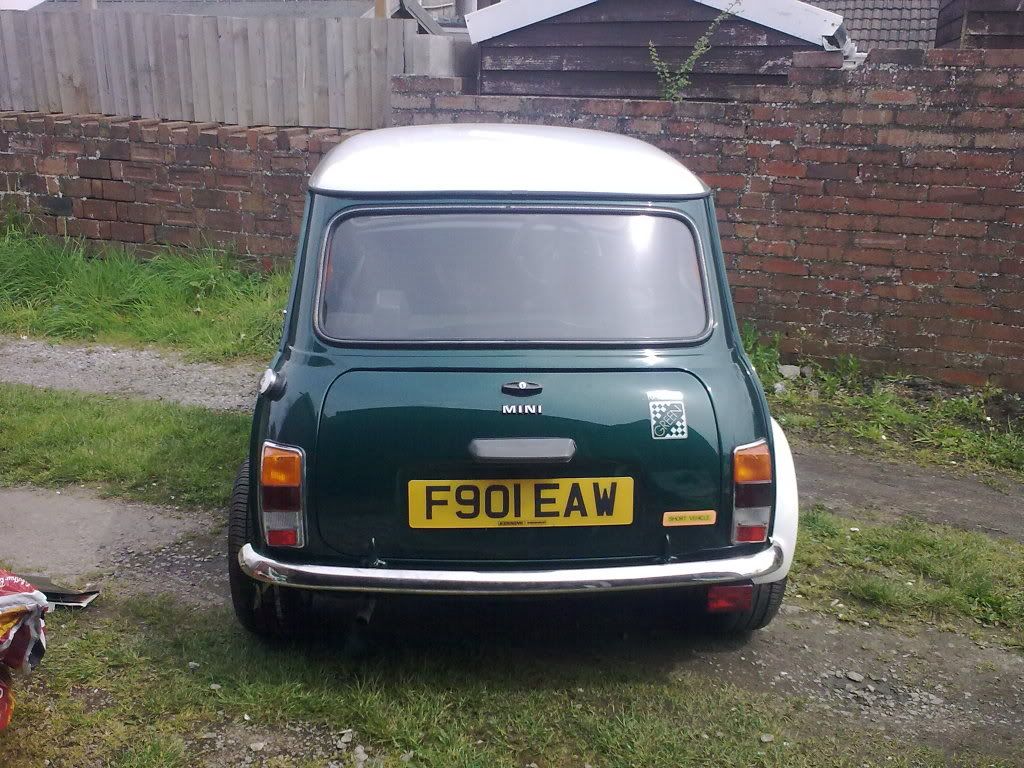 |
|
|
|
Post by jb on May 4, 2009 12:35:56 GMT 1
|
|
|
|
Post by welshjosh on May 4, 2009 15:26:14 GMT 1
looking good
What did you use to fix the arches?
|
|
|
|
Post by jjitaljob on May 4, 2009 16:34:11 GMT 1
L brackets and tiger seal??
|
|
ljonez
turbo
   Built not bought
Posts: 3,734
|
Post by ljonez on May 4, 2009 17:00:21 GMT 1
sports packs usally come with bolts bonded into them
|
|
|
|
Post by jb on May 4, 2009 17:09:02 GMT 1
Yeah they came with the brackets stuck into the fibreglass, so we lined them up and used self tappers.
|
|
|
|
Post by jjitaljob on May 4, 2009 17:33:13 GMT 1
wish mine were that easy to mount  |
|
|
|
Post by jb on May 4, 2009 17:36:57 GMT 1
Sounds easy, but when you've no idea what you're doing to start off!
That first rear arch took us like 3 hours. Cos we first had to work out the best way to fit it (ie whether or not it was getting cut to fit around the seam or not) and then we had to make all the cuts, which took ages because we didn't want to make them too big, so filing little by little.
Then when we'd got those in we had to file away some of the uneven edges to get a nice fit.
Then marking all the holes for the brackets n drilling them n running the self tappers through. Then we put her up on a jack n took the wheel off to try n give us more room.
Then we spent ages trying to get the rubber to stick to the arch before we put it on as we'd read it was easier, which is absolute rubbish I can confirm. So we just put the arch on tightened up the self tappers, slipped the rubber strip in and tightened it all up. lol
Second arch took half the time because we now know what we're doing...ish!
|
|
ljonez
turbo
   Built not bought
Posts: 3,734
|
Post by ljonez on May 4, 2009 17:37:17 GMT 1
is it me or maybe the camera angle but the front of that rear arch looks to far back  |
|
|
|
Post by jb on May 4, 2009 17:40:40 GMT 1
We thought you may notice that. It's mostly because of the way the arch has been made. There's no bracket near that edge, so it doesn't get pulled in tight to the body. If you push that bottom bit in close to the wheel it pulls away quite nicely and gives an extra 1/2" of space between arch n wheel.
So what we're gonna do is similar to the front, put another self tapper though the bottom of the arch n pull it in nice.
We thought about moving the arch forward a bit, but then it pulls away from the back and you get a big gap between the bumper and the arch and it looks wrong. Bit of a compromise..
|
|