|
|
Post by 2alex2 on Dec 25, 2011 22:57:58 GMT 1
also does any one have a diy spot fitting guide as i recived two spots today as a gift with clear lense with angel eye out sides would like to wire then to a switch so can have them on or off but have the angel eye's wired to the dip on normal lights and the main bulb but would be putting a 100wat bulbs in main and leaving the angel eye as they are any help
|
|
gavinhendy
1380cc
   Williams Car Care, [F4:gavin williams]
Posts: 1,485
|
Post by gavinhendy on Dec 26, 2011 12:07:16 GMT 1
this is how you would wire up the main beams to a switch - buy a spot light relay kit ,dirt cheap on ebay , take a look at this picture, it is a basic relay wiring diagram . www.ado13.com/techs/relaywire.jpgand a little advice , where it says power from ignition switch this power can be pinched from pretty much any live connection anywhere behind the dash. I used my heaters live wire and cut into that , joined them and sealed it with pleanty of insulation tape , should use proper connectors but depends if your a pikey like me lol where number 87 leaves the relay must go to the red (live wire of the headlamps you are installing ) and the black wire on the headlamps then need to be earthed , i used my horn bracket where t says number 30 , you can take a wire from the left hand side of the fuse box for this , i used the top left connection as if i am correct this was an ignition live so the lights would go off with the ignition the rest of the connections are pretty straight forward, i mounted my relay on the brake servo braket and used a chrome relay cover to tidy it all up .. - and if you want the angel eyes to come on with the dip beam you would have to locate the wires and cut in to them, sorry but i am unsure on the headlight wires :S im sure somebody will be able to help with this if i need to cear anything up just let me know gh |
|
|
|
Post by 2alex2 on Dec 26, 2011 18:11:39 GMT 1
chearse for that how could i wire them into the stalk on the colom then as i want then to have a main switch so i can switch them of al together and then have them switched on so they work with main beam
|
|
|
|
Post by jackdaw on Dec 26, 2011 18:58:22 GMT 1
You have to use the headlamp mainbeam 12v as the supply to your relay (pin 86) and run it to the relay though the switch so that when the switch is OFF, the relay is not powered.
|
|
gavinhendy
1380cc
   Williams Car Care, [F4:gavin williams]
Posts: 1,485
|
Post by gavinhendy on Dec 26, 2011 19:48:33 GMT 1
tag team mini advice jd  |
|
|
|
Post by 2alex2 on Dec 26, 2011 21:21:48 GMT 1
ok thanks guys for the help will get that sorted once the fronts back on still waiting on the pannels to arrive hopefully they will arrive this week. will pop into the local car part and see what relays they have there as i can get them at trade price.
|
|
|
|
Post by 2alex2 on Dec 28, 2011 18:00:03 GMT 1
hey so a small update but most of the work now done. 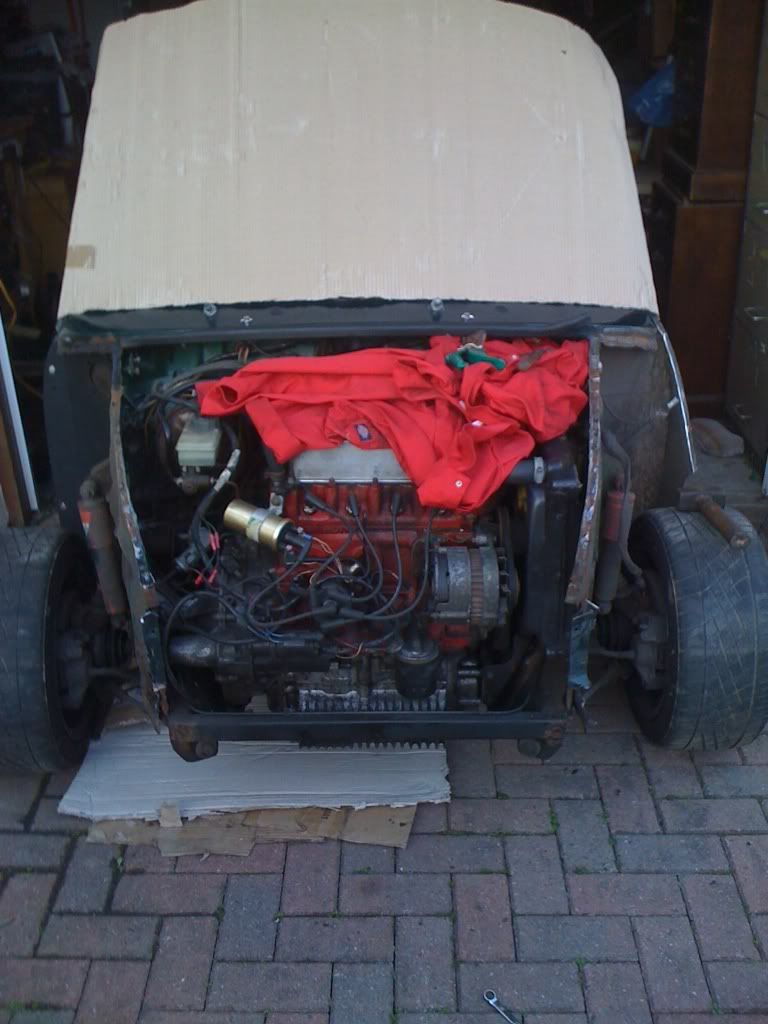 also the front end arrived today so as soon as this lot is tidyed up and priced and rust treated will be ready to get the front end on a lined up any one got any tips on putting front ends on got two wings front and an a panel to put on o and also drivers door to put on a line up so any tips would be great. |
|
|
|
Post by 2alex2 on Jan 8, 2012 19:22:56 GMT 1
hey everyone so bit of any update today managed to get some of the front on and wings clamped into place for a test fit and line up but got a bit of grinding to do and painting to do to the inner wings first but its looking like a mini again now. here it is before it goes back to sleep for the night 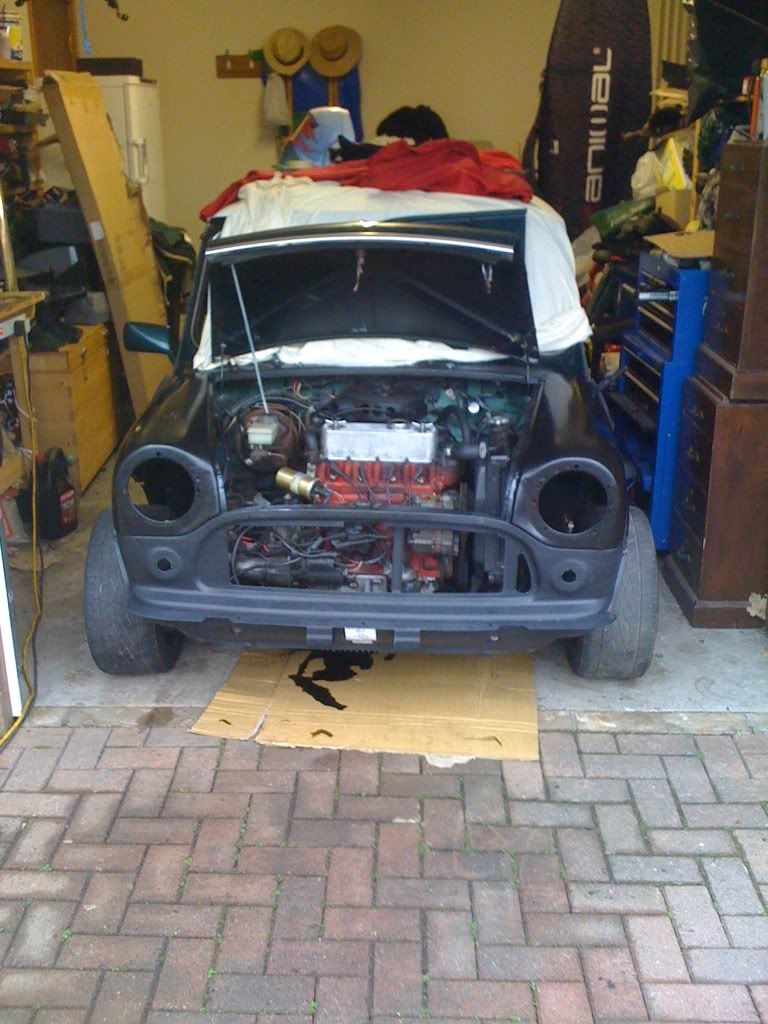 |
|
gavinhendy
1380cc
   Williams Car Care, [F4:gavin williams]
Posts: 1,485
|
Post by gavinhendy on Jan 9, 2012 0:56:24 GMT 1
Nice work mate , coming along realy well I see , I would paint all the inside of those wings with a few coats of red oxide primer to keep the rust away for as long as possible :-) did it to mine once I baught it , mine had loads of underseal underneath aswell so I tool all that off and red oxide then umderseal ,
Gav
|
|
|
|
Post by 2alex2 on Jan 9, 2012 23:19:09 GMT 1
yea will be doing that already sprayed the front pannel and matched with brg and the inside of the inner wing will be sprayign the resnt next day or so. also any one ever had any problems with wheels beeing in different place from front to back. as my front drivers side is and inch further forward then the passenger side from the back got some bushes on order to see if that helps if not will get some adustable tie bars
|
|
|
|
Post by 2alex2 on Jan 10, 2012 22:59:32 GMT 1
ok so my bushes arrived but seems teh bolts on the hub side seem to be well and truly stuck is there any way to get the bushes off without tacking the hole tie bar off bothe ends. also another parcel arrived which meant i could start on my dash this is what i managed to get done tonight 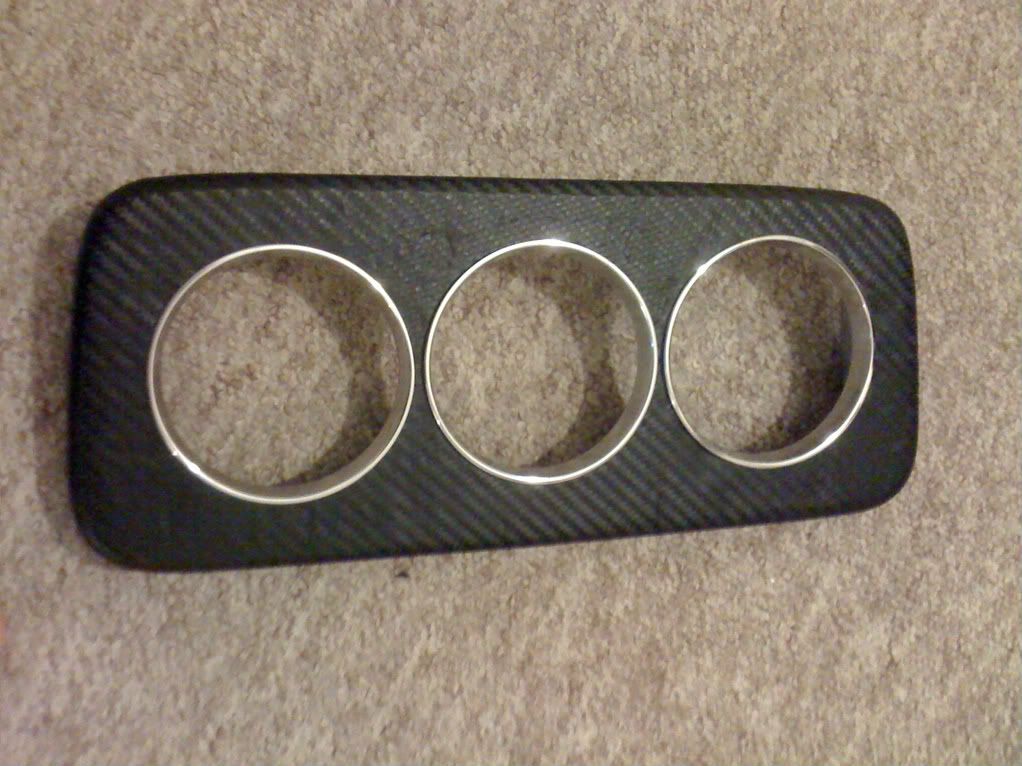 |
|
gavinhendy
1380cc
   Williams Car Care, [F4:gavin williams]
Posts: 1,485
|
Post by gavinhendy on Jan 10, 2012 23:14:15 GMT 1
id get tracking checked after replacing the bushes could just need adjusting a little
|
|
|
|
Post by 2alex2 on Jan 11, 2012 1:14:23 GMT 1
mm yea might do but the car did seem to crab a bit but the wheel beign an inch forword at the drivers side would explain this just hoping its the bushes other wise i will need to get some adustable tie bars as well.
|
|
|
|
Post by dai9fxey on Jan 11, 2012 22:55:12 GMT 1
Try taking out the lower arm support shaft, the shaft on the inner end of the bottom arm.
Dont undo the nut all the way off because you'll possibly need to give the nut end a few clouts with a persuader, then undo the nut a bit more and repeat the above.
You should have a bit more movement in the suspension arms once the bottom support shaft is taken out and should be able to pull the tie rod out enough to change the rubbers.
|
|
|
|
Post by 2alex2 on Jan 11, 2012 23:15:07 GMT 1
thats the bar going from the hub to the sub frame by the drive shaft ? so also update on the front end got the wings red oxided and stone chip after but didnt get a pick of that. 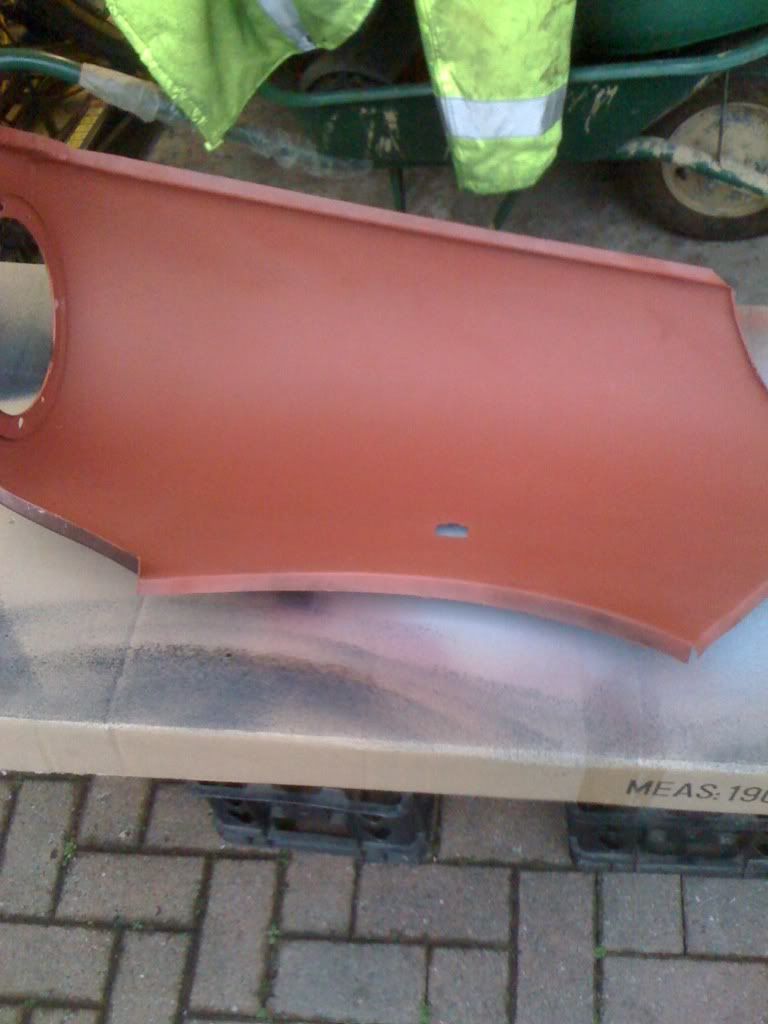 also dash finished very pleased with the end result could say would do it again if needed to as im that pleased with it. 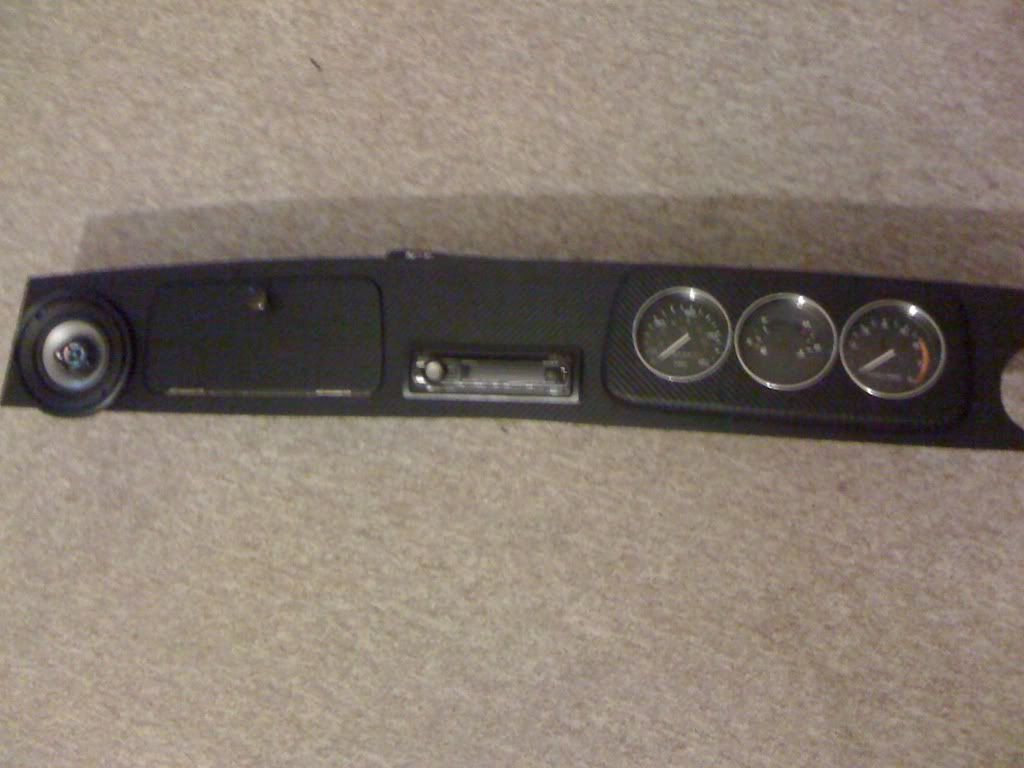 |
|
|
|
Post by coopdog on Jan 11, 2012 23:31:43 GMT 1
nice looking dash!
|
|
|
|
Post by 2alex2 on Jan 11, 2012 23:51:26 GMT 1
thanks was a wooden one but the was crackign and pealing so got taken off sanded primed and then i applied the carbon 3m vynal and came out very well.
|
|
Huntyfm
1440cc
  If you cant fix it with a hammer its electrical.[F4:Huntyfm]
Posts: 2,633
|
Post by Huntyfm on Jan 12, 2012 1:11:22 GMT 1
I need to do that too mine.. But it can wait
|
|
|
|
Post by jackdaw on Jan 12, 2012 10:52:36 GMT 1
I've had that exact same problem with my veneered dash. I covered mine in black vinyl tho to match the rest of the cars interior trim. Cars coming along well with you there alex.  |
|
|
|
Post by 2alex2 on Jan 12, 2012 18:01:21 GMT 1
thanks guys yea just didnt look good in my opinion btu the steerign wheel is the same not sure what to do about that yet. also got a new camera on the way so once its getting near the end can get some better pictures rather than the dodgy iphone ones  |
|