|
|
Post by 2alex2 on Jan 23, 2012 19:58:07 GMT 1
hey any one got a good way to repair plastic artches as one of mine is broken and most of the bolts are not in it but i did buy some non gen ones but since then i have found out that mine are gen ones and have changed my mind about just binning them think i will try and repair them as will make the car worth more when selling
|
|
|
|
Post by 2alex2 on Jan 29, 2012 22:13:52 GMT 1
well small update  got that done yesterday night was prity easy that part but turnt out well. also go the front pannel on and adapted to make it so its even so its all square ready for the welding to begine but got a bit of grindin to do first |
|
|
|
Post by 2alex2 on Feb 11, 2012 17:41:47 GMT 1
well not been much of an update yet realy been doing some small jobs on the inside and just today changed the other a pannel nearly got it finished just go to ben round the lip on the inside. ones thats done im hoping tostart welding the front and wings on then seam selant and paint fingers crossed that it goes as smooth as i hope it will cant see anything being a problem now realy so will see.
on another note any tips on getting rubber cones off of the alumini adjusta's tried this today but failed tryed screw drivers and hammers even tried a set of pullers but they are to stuck on was thinking about boiling them on hot water but unsure if it will work or not ?
|
|
|
|
Post by dai9fxey on Feb 11, 2012 22:10:33 GMT 1
They can be a right bu*%er to get off sometimes.
Try spraying some plusgas or similar around the base of the doughnut.
Give it some time to work in then it's time to get angry. ;D
I usually use a brick bolster and a club hammer to split the offending join between the top of the trumpet and doughnut.
Make sure the trumpet and doughnut are supported otherwise you could get a whack.
Sandbag would be ideal.
Place the bolster in the join and start swinging that hammer.
Turn the doughnut through 180 degrees and repeat the process.
Once the join starts to open change the bolster for a fatter chisel other wise you'll damage the trumpet with too sharp a chisel.
Sounds extreme, but it hasn't failed to work for me ,,,,,,,,,,yet.
|
|
|
|
Post by 2alex2 on Feb 11, 2012 22:45:02 GMT 1
haha yea i was usinga large hammer and a point throught eh threaded part to hit it out that way but that seemed to fail as well will soak them with wd40 i think they try the pullers again as i could get a good grip on them as well as nice and easy to turn the puller but will see. i blame tim for not looking after them  joke  |
|
|
|
Post by 2alex2 on Feb 19, 2012 13:18:43 GMT 1
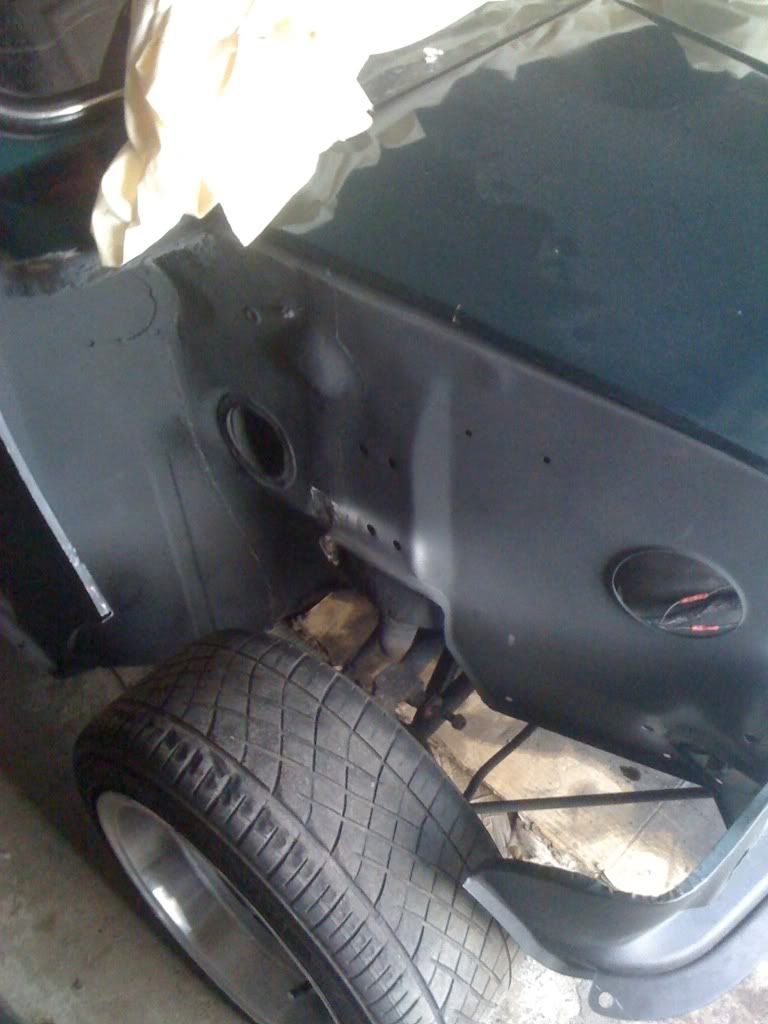
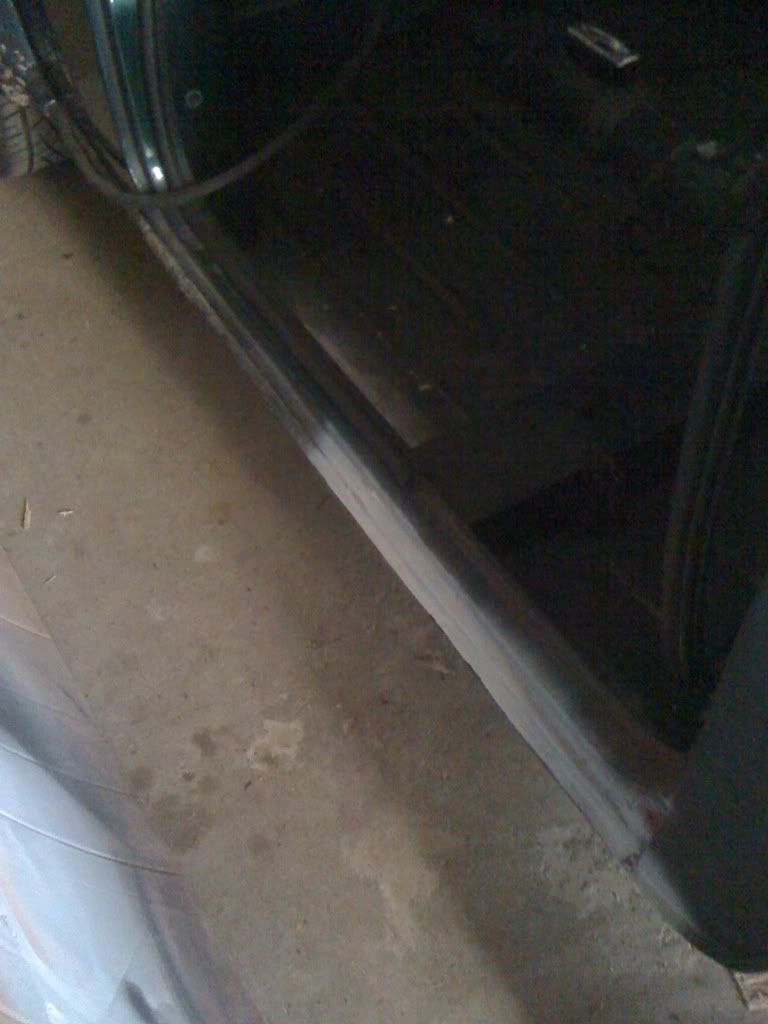
hey everyone so a few small updates done on the car its nearly ready for the wings to be welede on now. a small door step repair and the inner wings sorted and sanded down and then stone chiped guard sprayed on.   |
|
|
|
Post by coopdog on Feb 19, 2012 13:32:54 GMT 1
looking good
|
|
|
|
Post by dai9fxey on Feb 19, 2012 21:22:32 GMT 1
Making steady progress Alex. The effort will be well worth it.  |
|
|
|
Post by 2alex2 on Feb 19, 2012 22:07:37 GMT 1
yea well i have booked monday and tuesday to finish the car ready to go for some paint so hopefully with in the next week or two could see it on the road but that could be optamistic
|
|
|
|
Post by 2alex2 on Feb 20, 2012 19:28:57 GMT 1
well after much more welding and grinding and sanding and bit more pain the car is now ready for the wings to go on so tomorrow first thing the wings wil be going on cant wait jsut got to find some one to spray it now not sure weather to go wiht half respray on the front or the whole car.
|
|
|
|
Post by 2alex2 on Feb 21, 2012 22:55:30 GMT 1
|
|
|
|
Post by dai9fxey on Feb 21, 2012 23:14:38 GMT 1
It's a bit difficult to say from the pics, but the n/side wing gap looks a bit wider than the o/side. The white? seam sealer could also make the gap look larger though. Looks to be a good panel fit between the wings and front panel. PS, It looks as if someone is sleeping rough on your back seat. ;D  |
|
|
|
Post by 2alex2 on Feb 21, 2012 23:26:46 GMT 1
yea it is a bit differnt right at the bottom but most of the way its the same jst wondering weather it was to much or what but can always extend the bonnet at a later date if im not happy. yea the fornt pannel was a goo match get the hole kit you see so all magnum pannes from the sime time glad it went ok realy. yea i kicd him out before i locked the mini up  |
|
|
|
Post by 2alex2 on Feb 25, 2012 19:51:04 GMT 1
some more progress but no pic forgot teh camera  . front end all seam sealed adn stone chiped the inside of the arches and also changed the drive shaft seal so hopefully no more oil leak  |
|
|
|
Post by 2alex2 on Feb 29, 2012 21:03:40 GMT 1
well a major set back on the mini today dad was workign on it tryignt to get it ready for paint soon and revoved the tank to take the lights out and came across some rust on the left hadn corner of the boot behind the tank as took the wire brush to is and it jsut disopoeared then thoguht better check the other side adn it was worse the other side. so have now had to order a boot repair pannel as well guy said he will try his best to get it for me here tomorrow so will see how it goes  |
|
|
|
Post by dai9fxey on Feb 29, 2012 21:43:22 GMT 1
At least you found it before the Mini went for paint. That particular area is usually a haven for rust.  |
|
|
|
Post by 2alex2 on Feb 29, 2012 23:18:10 GMT 1
yea didnt look to back but by the time the wire brush went on it there was nothing left so im hoping ti truns up tomorrow and have it welded in by the tomorro night and dad can then grind it and fill friday then. o also hope my new carbet arrived tomorrow as well tailored carpet and good sound proffing kit £55 bargain i thought
|
|
|
|
Post by 2alex2 on Mar 4, 2012 22:59:13 GMT 1
well now waiting on a rea valance and boot repair pannel for the hinges and also the smalll pocket int he rear valace hope to be here by tuesday adn tomorrow its getting booked for the respray so hope that will be a week or two before it goes in and then can consentrate getting it through it mot before 20 march  |
|
|
|
Post by 2alex2 on Mar 6, 2012 22:06:50 GMT 1
so the boot phing pannel repair came along with the new reavalance today hope to get them ontomorrow and finalise a respra booking tomorrow o hand my new carpet set arrived as well all taylored adn with a ful insulation kit as well just for £55 bargain i thought cant wait tog et it in for paint so i can fit the new carpet and get it on the road now  |
|
|
|
Post by 2alex2 on Mar 7, 2012 20:45:32 GMT 1
well the rear valance is now welded in and also the boot hing repair pannel just waiting on another suport peace then will wedl int he boot floor pannel
|
|